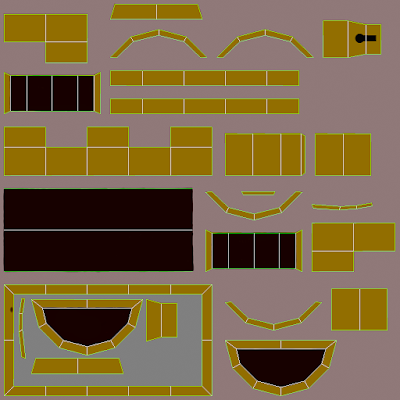
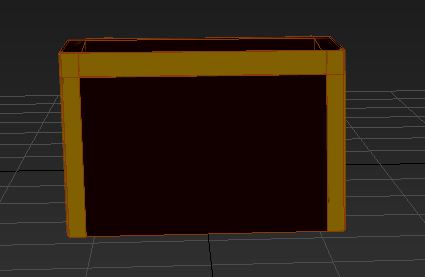
I selected the section of the chest I was going to texture( base or lid) on 3D studio max and I went onto the modify tab and put the unwrap uvw on the object, I then open the UV editor. I then selected it so I would a template of everything. I then rendered the uvw template and saved it as a bitmap.
I then opened the save in Photoshop and duplicated the layer, on one of the layers I selected the entire layer and deleted I then added the main color and added to the entire layer. I then went onto the layer with the UVW on it and put it onto screen so only the green lines would show on the colored layer. I then added the colors to the sections of the chest, I then turned the UVW layer of and save the texture layer as a bitmap.
I then pressed M on 3D studio max on the selected object and selected bitmap diffuse and applied the texture on to the object.
Photoshop documents
Lid

Base
 |
| The reason this isn't as neat as the upper one is that I learnt that as long as the color you chose (yellow) doesn't go into sections you want it to you can be as messy as you want. |
base
lid
together
This was the first Job I had to do on the production schedule.


No comments:
Post a Comment